The Gigabyte B650 Gaming X AX is a high-performance ATX motherboard designed for AMD Ryzen 5, 7, and 9 processors, featuring Socket AM5 and B650 chipset.
It supports DDR5 memory, PCIe 4.0 expansion slots, and advanced overclocking capabilities, making it ideal for gaming and high-end computing applications.
1.1 Overview of the Motherboard
The Gigabyte B650 Gaming X AX is a feature-rich ATX motherboard designed for AMD Ryzen 5, 7, and 9 processors. Built with the Socket AM5 and B650 chipset, it supports DDR5 memory up to 5200 MHz, PCIe 4.0 x16 slots, and multiple M.2 storage options. The board includes Wi-Fi 6E, high-quality audio, and durable components like digital VRM for reliable performance. Its sleek design and robust cooling solutions make it ideal for both gaming and content creation.
1.2 Key Features and Specifications
The Gigabyte B650 Gaming X AX features the AMD B650 chipset, supporting Socket AM5 processors like Ryzen 5, 7, and 9. It offers 4 DDR5 memory slots with up to 5200 MHz support, PCIe 4.0 x16 expansion slots, and triple M.2 storage options. The motherboard includes Wi-Fi 6E, high-quality audio, and a robust power delivery system with digital VRM. Its ATX form factor and advanced cooling solutions ensure reliable performance for gaming and content creation.
Hardware Installation Guide
This guide provides step-by-step instructions for installing components on the Gigabyte B650 Gaming X AX, including CPU, RAM, storage, and expansion cards. Ensure proper grounding to prevent static damage.
2.1 Unpacking and Preparing the Motherboard
Begin by carefully unpacking the Gigabyte B650 Gaming X AX motherboard from its box. Handle it by the edges to avoid static damage. Before proceeding, ground yourself using an anti-static wrist strap or by touching a grounded metal object.
- Inspect the motherboard for any visible damage or defects.
- Remove the protective covering from the socket and surrounding areas.
- Familiarize yourself with the layout and key components.
Ensure all necessary accessories, such as the manual and cables, are included.
2.2 Installing the CPU and CPU Cooler
Ground yourself using an anti-static wrist strap to prevent damage. Align the CPU pins with the Socket AM5, ensuring it fits securely without force. Gently push down and secure the CPU using the socket lever. Apply a thin layer of thermal paste to the CPU die, then install the cooler, tightening screws evenly. Ensure proper contact for optimal cooling performance. Avoid touching the CPU pins to prevent damage.
- Handle the CPU by the edges only.
- Align the CPU with the socket key.
- Secure the cooler firmly but gently.
2.3 Memory (RAM) Installation
Ground yourself using an anti-static wrist strap to prevent damage. Locate the DIMM slots on the motherboard. Align the RAM module’s notches with the slot’s key; Gently push down until it clicks. For dual-channel mode, install pairs in matching color slots. Secure the module with clips. Handle RAM by the edges to avoid damage. Boot the system to confirm installation in the BIOS.
- Use DDR5 modules only.
- Match RAM speed with BIOS settings.
- Install in pairs for dual-channel.
2.4 Storage Device Installation (M.2, SATA)
Install M.2 NVMe SSDs by aligning the notch with the slot and screwing it in. For SATA drives, connect the cable to the motherboard and power supply. Handle drives by the edges to avoid damage. Secure M.2 drives with screws and SATA drives in the bay. Boot the system to confirm detection in the BIOS. Ensure proper alignment to avoid damage.
- Use compatible M.2 NVMe or SATA SSDs.
- Secure drives firmly to prevent loose connections.
- Always handle storage devices by the edges.
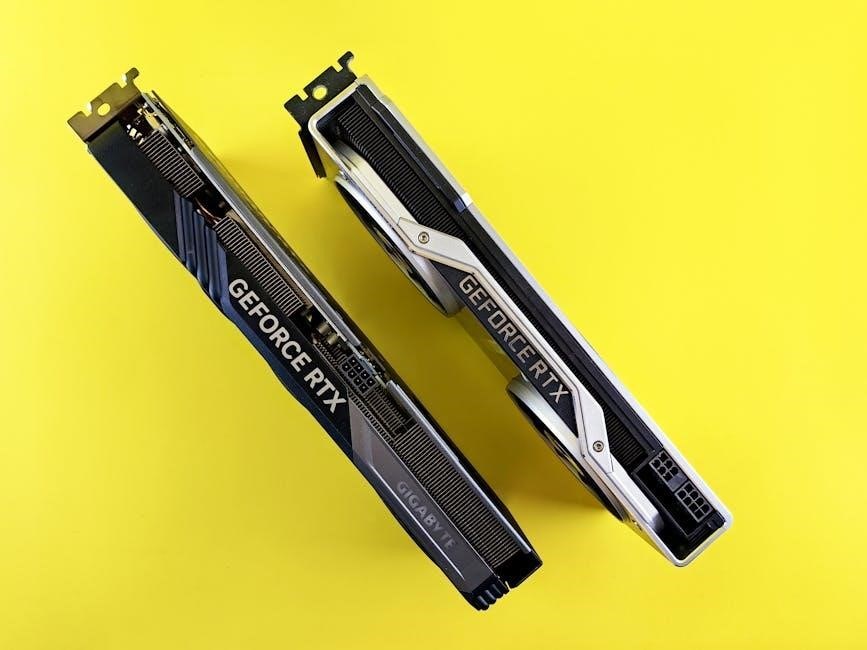
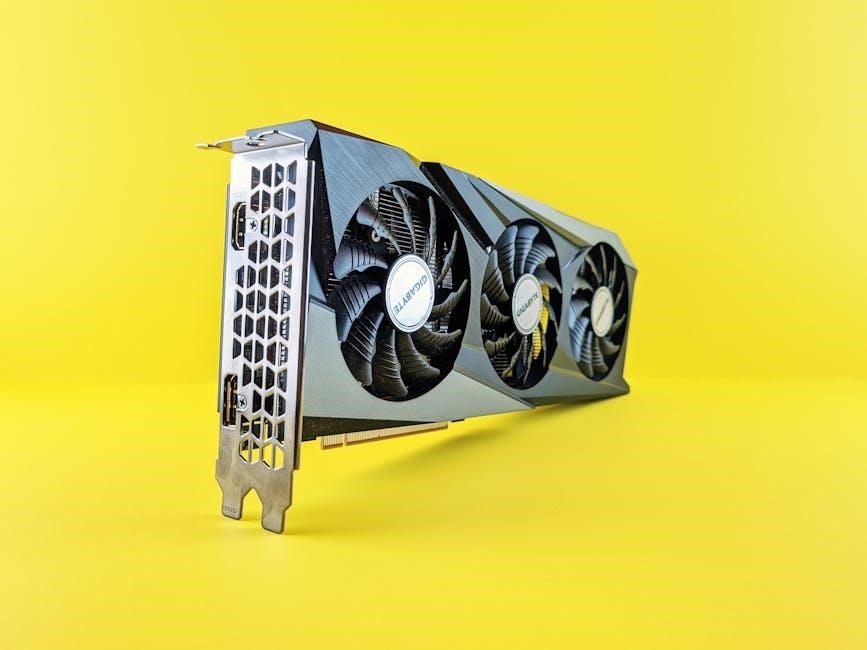
2.5 Expanding Slots (PCIe, Graphics Card)
To install a PCIe graphics card, align it with the PCIe x16 slot, ensuring the gold contacts face the slot. Gently push the card into the slot until it clicks. Secure it with screws to prevent movement. Handle the card by the edges to avoid static damage. For multi-GPU setups, refer to the motherboard manual for configuration details. Ensure the card is fully seated and power connectors are securely attached.
- Align the card correctly to prevent damage.
- Secure the card firmly with screws.
- Handle the GPU by the edges to prevent static discharge.
- Ensure proper power connections from the PSU.
BIOS Setup and Configuration
The Gigabyte B650 Gaming X AX features a UEFI BIOS with advanced options for system configuration, overclocking, and monitoring. Navigate through menus using keyboard or mouse.
3.1 Accessing the BIOS
To access the BIOS on the Gigabyte B650 Gaming X AX, restart your system and press F2, Del, or the End key during boot. Ensure your keyboard is connected and recognized.
The BIOS interface will appear, allowing you to configure settings, monitor hardware, and update firmware. Save changes before exiting to ensure they take effect.
3.2 Navigating the BIOS Interface
The BIOS interface on the Gigabyte B650 Gaming X AX is user-friendly, with a clean layout. Use arrow keys or mouse navigation to explore tabs like Main, Advanced, and Boot.
The Main tab displays system info, while Advanced offers detailed settings for overclocking and hardware configuration. Use hotkeys like F10 to save and exit, ensuring changes are applied effectively.
3.3 Configuring Basic Settings
Configure basic settings in the BIOS to optimize system performance. Set the boot order to prioritize your preferred storage device. Adjust the system time and date. Enable or disable hardware components like USB ports or audio devices. Configure fan settings for optimal cooling. Set XMP profiles for DDR5 memory to achieve advertised speeds. Save changes before exiting to ensure settings are applied, ensuring system stability and performance.
3.4 Advanced BIOS Features and Overclocking
The BIOS offers advanced features for enthusiasts, including precise voltage controls, CPU multiplier adjustments, and memory overclocking. Use the FIVR (Fsb Initialization, Voltage, and Recovery) controls to fine-tune power delivery. Enable XMP profiles for DDR5 memory to achieve higher speeds. Monitor system stability with built-in tools and adjust cooling settings for optimal performance. These features allow users to push their hardware to its limits while maintaining stability.

Operating System Installation
Install a 64-bit OS like Windows 10/11 by preparing bootable media, entering BIOS to set boot priority, and following on-screen instructions for a smooth setup.
4.1 Preparing for OS Installation
Before installing the OS, ensure you have a bootable USB drive with a 64-bit OS image (e.g., Windows 10/11). Backup important data and ensure the motherboard is properly configured in BIOS. Connect essential peripherals and verify all hardware components are recognized; Install the latest chipset drivers from Gigabyte’s official website or the provided driver disc for optimal compatibility and performance.
4.2 Installing Windows 10/11
Insert the bootable USB drive containing Windows 10/11 and restart the system. Access the BIOS to set the USB drive as the first boot device. Save changes and exit BIOS to begin installation. Follow on-screen instructions to select language, time, and keyboard settings. Choose “Custom: Install Windows only” and select the appropriate partition for installation. Format the partition if necessary and proceed with installation. Once complete, set up your administrator account and connect to Wi-Fi. Install drivers from Gigabyte’s website or the provided disc for full hardware functionality.
4.3 Drivers and Software Installation
After installing Windows, download and install the latest drivers from Gigabyte’s official website. Install Realtek LAN, audio, and chipset drivers for optimal performance. Use the provided Gigabyte Utility disc for additional software like App Center, Smart Backup, and EasyTune. Ensure to install the latest BIOS updates for enhanced compatibility. Enable automatic driver updates in Windows Settings to maintain up-to-date functionality. Visit the Gigabyte support page for the most recent software and drivers.
Compatibility and Support
The Gigabyte B650 Gaming X AX supports AMD Ryzen 5, 7, and 9 processors, DDR5 memory up to 5200 MHz, and multiple M.2 and SATA storage options.
5.1 Compatible Processors (AMD Ryzen 5, 7, 9)
The Gigabyte B650 Gaming X AX supports AMD Ryzen 5, 7, and 9 processors of the 7th generation, including models like the Ryzen 5 7600, Ryzen 7 7800X, and Ryzen 9 7900. These processors utilize the AM5 socket and are built on the 5nm Zen 4 architecture, offering enhanced performance and efficiency. The motherboard is designed to fully leverage the capabilities of these CPUs, supporting up to 16 cores and 32 threads for demanding tasks. With a robust power delivery system, it ensures stable operation for both gaming and productivity workloads, making it an excellent choice for users seeking high performance.

5.2 Memory (DDR5) Support and Configurations
The Gigabyte B650 Gaming X AX supports up to 4 DDR5 DIMMs with a maximum capacity of 128GB. It offers DDR5 memory speeds up to 5200 MHz, leveraging AMD Ryzen 7000 series processors’ capabilities. The motherboard features XMP profiles for easy overclocking and supports dual-channel configurations for enhanced performance. Users can configure memory in various combinations, ensuring optimal compatibility and scalability for gaming, multitasking, and high-performance computing.
5.3 Storage Compatibility (M.2, SATA)
The Gigabyte B650 Gaming X AX features three M.2 slots supporting PCIe 4.0 x4 for high-speed NVMe SSDs and four SATA 6Gb/s ports for traditional storage. It supports RAID 0, 1, 5, and 10 configurations, enabling flexible storage setups. The motherboard is compatible with the latest AMD Ryzen 7000 series processors, ensuring optimal performance for gaming and multitasking. Its storage options provide ample scalability for modern computing needs.
Overclocking and Performance Tuning
The Gigabyte B650 Gaming X AX supports AMD Ryzen 7000 series with Digital VRM Design, ensuring stable power delivery. BIOS features enable precise tuning for optimal performance.
Overclocking is the process of increasing CPU or GPU speeds beyond factory settings to enhance performance. The Gigabyte B650 Gaming X AX supports overclocking with its Digital VRM Design, ensuring stable power delivery for Ryzen 7000 series processors. The BIOS provides tools like Precision Boost Overclocking (PBO) to fine-tune settings for optimal performance. This feature is ideal for enthusiasts seeking to maximize their system’s capabilities while maintaining stability.
6.2 Best Practices for Stable Overclocking
For stable overclocking on the Gigabyte B650 Gaming X AX, start with small frequency increases and monitor system stability. Use the BIOS to adjust voltages and enable features like Precision Boost Overclocking (PBO). Ensure proper cooling solutions are in place to maintain safe temperatures. Regularly monitor CPU and GPU performance using tools like HWMonitor or AIDA64. Maintain a stable power supply and avoid excessive overclocking to prevent hardware damage or system instability.
Troubleshooting Common Issues
Identify symptoms, check BIOS for updates, ensure hardware compatibility, and monitor for error messages. Address issues like boot failures or instability by reviewing system logs and configurations.
7.1 BIOS Update and Recovery
Updating the BIOS ensures optimal performance and compatibility with the latest hardware. Download the latest BIOS version from Gigabyte’s official website and follow the installation guide carefully. Always backup settings before updating. If a BIOS update fails, use the built-in recovery feature or a backup BIOS chip to restore functionality. Ensure the system is grounded and powered correctly during updates to avoid corruption or instability.
7.2 Hardware Compatibility Issues
Ensure all hardware components are compatible with the B650 Gaming X AX. Check the Qualified Vendor List (QVL) for supported DDR5 RAM modules and storage devices. Verify that PCIe devices, such as graphics cards, are properly seated and configured in the BIOS. If older hardware is used, check for compatibility with the AM5 socket and B650 chipset. Refer to the motherboard manual for troubleshooting guides or update the BIOS to resolve potential conflicts.
7.3 Common Errors and Solutions
Common issues include hardware not being recognized, boot failures, or unstable performance. Check all connections and ensure proper BIOS settings. For unrecognized components, verify compatibility and update drivers. Boot issues may require resetting BIOS defaults or checking boot order. Overheating can occur; ensure proper CPU cooler installation. For driver-related problems, install the latest versions from Gigabyte’s official website. Refer to the manual for detailed troubleshooting steps and solutions.
The Gigabyte B650 Gaming X AX motherboard offers robust performance, versatile features, and excellent support for AMD Ryzen processors. Refer to the manual for optimal configuration and troubleshooting.
8.1 Summary of Key Features
The Gigabyte B650 Gaming X AX motherboard features Socket AM5, supporting AMD Ryzen 5, 7, and 9 processors. It offers DDR5 memory compatibility, PCIe 4.0 expansion slots, and M.2 storage options. The motherboard includes Wi-Fi 6E, high-quality audio capacitors, and a robust VRM design for stable performance. It also supports advanced overclocking and has a user-friendly BIOS interface for customization.
8.2 Final Tips for Optimal Performance
To maximize performance, ensure proper cooling for your CPU and GPU. Regularly update BIOS and drivers for stability. Use high-quality DDR5 memory and configure it in dual-channel mode for enhanced bandwidth. Monitor system temperatures and maintain good airflow within your chassis. For overclocking, follow AMD’s guidelines and use Gigabyte’s BIOS tools for precise adjustments. Finally, enable XMP profiles for RAM and optimize power settings in the BIOS for peak efficiency.